


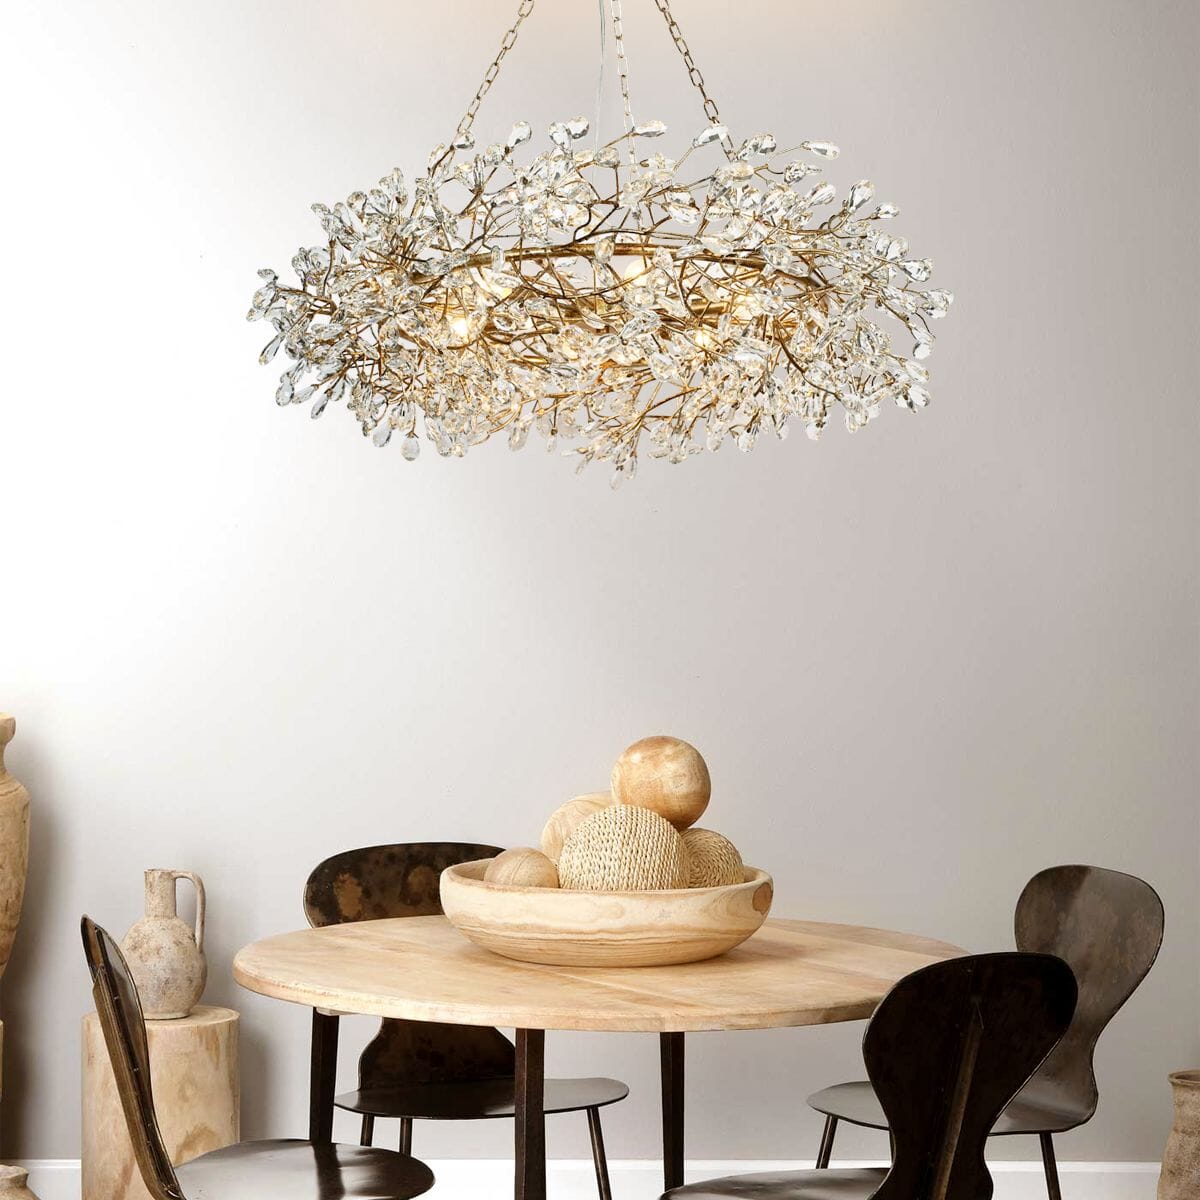
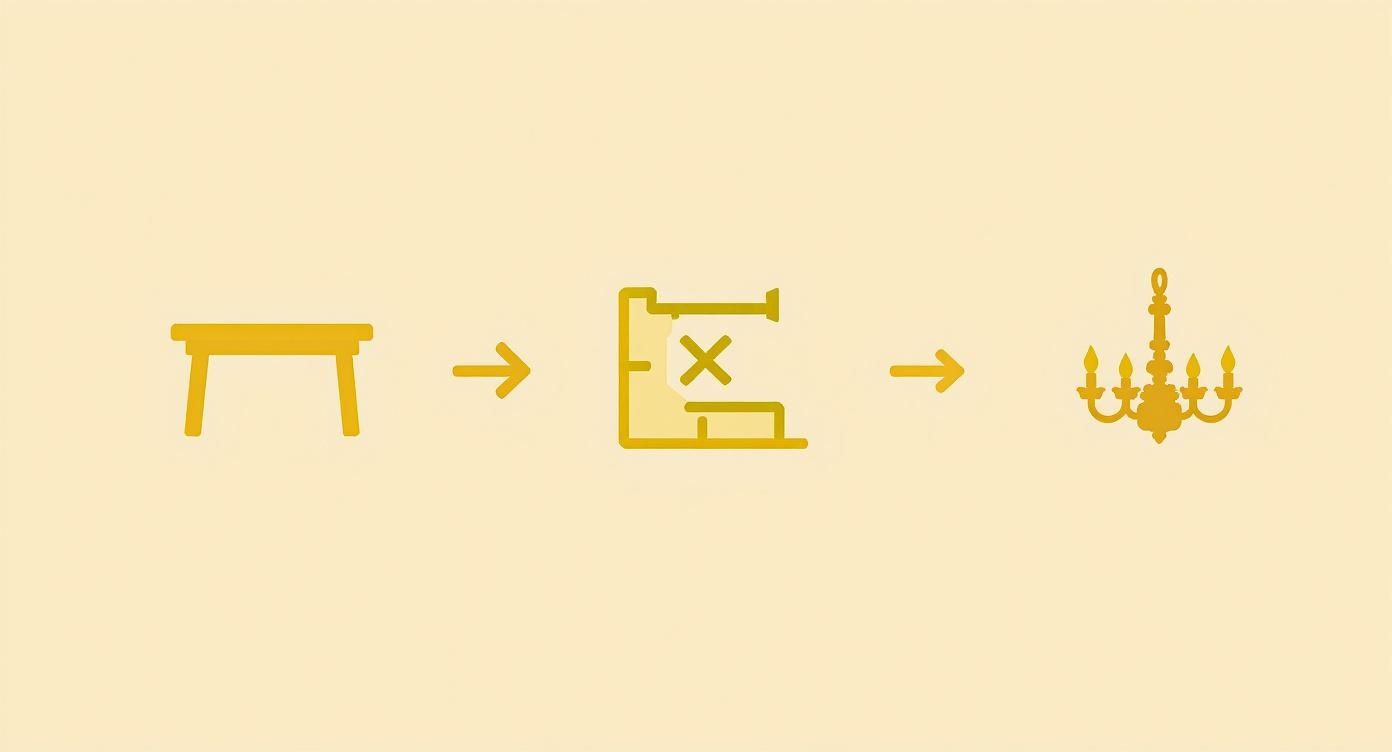
A chandelier is more than just a light source; it’s the jewelry of a room, the final touch that transforms a dining space from functional to fabulous. But hanging it incorrectly can throw off the entire room's harmony. So, how high should a chandelier hang above a table to achieve that perfect, professionally designed look?
The answer is a blend of established design rules and artistic intuition. This guide will walk you through the essential measurements, teach you how to adjust for ceiling height and fixture style, and empower you to hang your chandelier with confidence. Let's illuminate the secrets to perfect placement.
The Time-Tested 30 to 36 Inch Rule
If you’re aiming for that professionally designed look, this is the number to know. The quick and simple answer is that the very bottom of the fixture should be 30 to 36 inches above the tabletop. This isn't an arbitrary number; it's the carefully calculated sweet spot that designers have relied on for decades.
This height drops the chandelier low enough to cast an intimate, focused glow over your meal, anchoring the dining area as its own distinct zone. But it's also high enough to keep everyone's line of sight clear. There's nothing worse than trying to converse with someone across the table and having a light fixture blocking your view.
Why This Measurement Works So Well
There’s a good reason this guideline has stuck around. It’s all about designing for people. This standard really took hold in the mid-20th century, as designers began to codify principles for modern homes. The 30 to 36-inch range was figured out to align with the eye level of a person sitting down, while still giving plenty of headroom for anyone standing up or moving around the table.
To make this even easier, here's a quick cheat sheet for a standard 8-foot ceiling.
Chandelier Height Quick Reference (8-Foot Ceiling)
| Measurement | Recommended Distance | Primary Reason |
|---|---|---|
| Fixture Bottom to Tabletop | 30-36 inches | Ensures clear sightlines and ideal light focus. |
| Fixture Bottom to Floor | 60-66 inches | Provides safe walking clearance underneath. |
| Fixture Edges to Table Edges | 6-12 inches | Prevents bumping heads and keeps the scale balanced. |
Think of these numbers as your starting point, not the final word. Every room and fixture is a little different, so you might need to tweak things slightly to get it just right.
Key Takeaway: Don't treat this rule as a rigid restriction. See it as a professional framework—a starting line that helps you position your chandelier to be the stunning centerpiece it's meant to be, without any guesswork.
Following this classic guideline helps you nail three things at once:
- Perfect Lighting: It puts the light exactly where you need it—on the food and faces at your table.
- Clear Views: The fixture becomes part of the decor, not a barrier to conversation.
- A Cohesive Look: It visually tethers the chandelier to the table, making the whole setup feel intentional and complete.
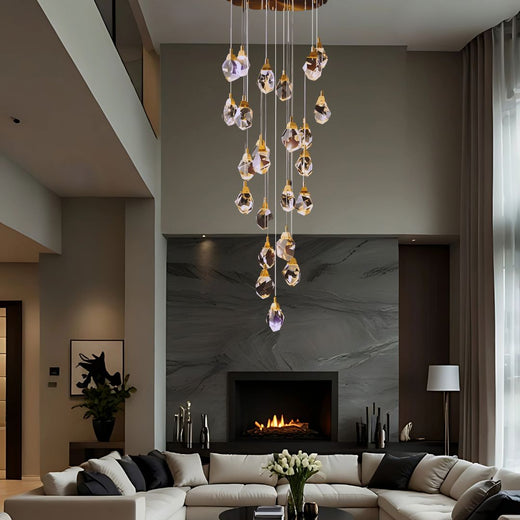
What About Rooms with Taller Ceilings?
The classic 30 to 36-inch rule is a fantastic starting point for rooms with standard eight-foot ceilings. But what if you're working with a more dramatic, soaring space? A ten, twelve, or even fifteen-foot ceiling changes the game entirely.
If you stick rigidly to that standard height in a room with a tall ceiling, your beautiful chandelier will look... well, a bit lost. It can feel visually disconnected from the table, like a lonely island floating in a vast sky. We want balance and intentionality, not awkwardness.
To get that professionally designed look, you just need to make a simple adjustment.
The Pro Trick: Three Inches Per Foot
Here’s the rule of thumb designers live by: for every foot of ceiling height you have above the standard eight feet, add an extra three inches to your chandelier’s hanging height. It’s a straightforward tweak, but it makes all the difference. This ensures the fixture feels proportional to the room's grander scale, creating a beautiful, cohesive line from the ceiling all the way down to the table.
Let’s walk through a quick example. Say you have a 10-foot ceiling:
- That’s two feet higher than the standard 8-foot ceiling.
- The math is simple: 2 feet x 3 inches per foot = 6 extra inches.
- Your new target height becomes 36 to 42 inches above the tabletop.
This adjustment keeps everything looking just right.
This little detail is what separates a good installation from a great one. In fact, getting the scale wrong is a huge source of frustration. Some lighting designers report that failing to adjust for ceiling height accounts for a staggering 41% of customer dissatisfaction with new chandelier installations.
Designer's Insight: Don't think of the chain or rod as just a utility. In a tall room, it becomes part of the fixture's overall design. A longer chain adds elegance and drama, drawing the eye upward and really celebrating the room’s amazing vertical space.
For those truly grand spaces that demand an equally impressive fixture, something like the Monita Cube Large Pendant Light for high ceilings is built to make a statement while giving you the drop length you need. Taking the time to calculate how high a chandelier should hang above the table ensures your lighting is a breathtaking focal point, not a distracting afterthought.
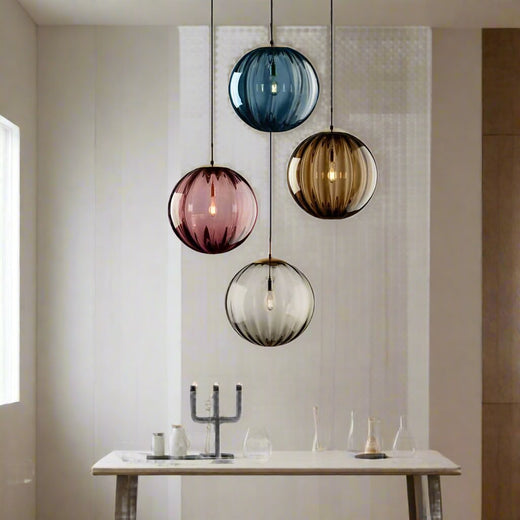
Choosing a Chandelier That Fits Your Table's Scale
Getting the hanging height right is a huge win, but it's only half the story. The other, equally critical piece of the puzzle is scale.
Think about it: a tiny, delicate pendant floating over a massive ten-foot dining table would look completely lost. On the flip side, a giant, overpowering fixture crammed into a cozy breakfast nook just feels wrong. Getting the scale right is what gives a room that polished, professionally designed look. It makes your chandelier feel like a deliberate, stunning focal point, not an afterthought.

The Designer's Trick for Perfect Proportions
So, how do you nail the size? There’s a simple formula that designers have been using for years to take all the guesswork out of choosing the right diameter for a chandelier over a table.
The Rule of Thumb: Aim for a chandelier diameter that is between one-half and three-quarters the width of your dining table. This creates a balanced, harmonious relationship between the table and the light fixture.
Let's see how this works in a real home. Say you have a round dining table that’s 48 inches wide:
- One-half of its width is 24 inches.
- Three-quarters of its width is 36 inches.
- This means your sweet spot for a chandelier is anywhere between 24 and 36 inches in diameter.
Sticking to this guideline is the easiest way to narrow down your options and find a fixture that truly complements your table. If you want to dive deeper into matching a fixture to your room's overall dimensions, our complete chandelier size guide has everything you need.
Your chandelier should feel at home not just with the table, but with the entire room's aesthetic. Whether your vibe is modern minimalist or classic and ornate, the right light fixture will tie it all together beautifully.
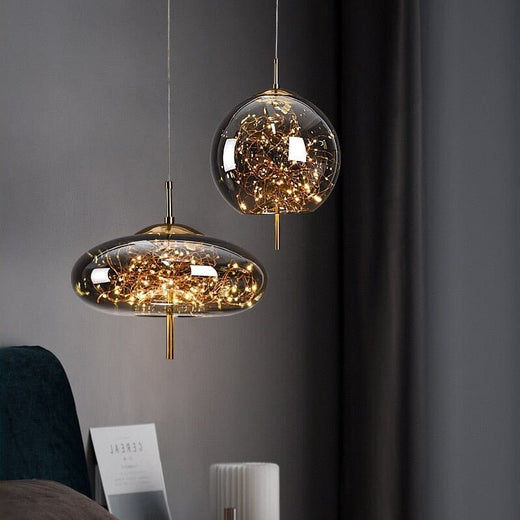
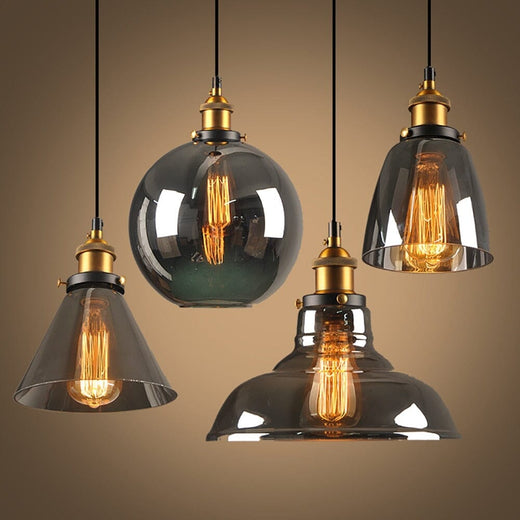
How Visual Weight Influences Hanging Height
A tape measure can give you the right numbers, but the real art of hanging a chandelier comes down to what designers call visual weight. It’s all about how heavy or light the fixture feels in the room, which isn't something you can quantify with a tool. Your eye is the final judge.
The style, material, and sheer bulk of your chandelier will drastically change how it occupies the space above your table.
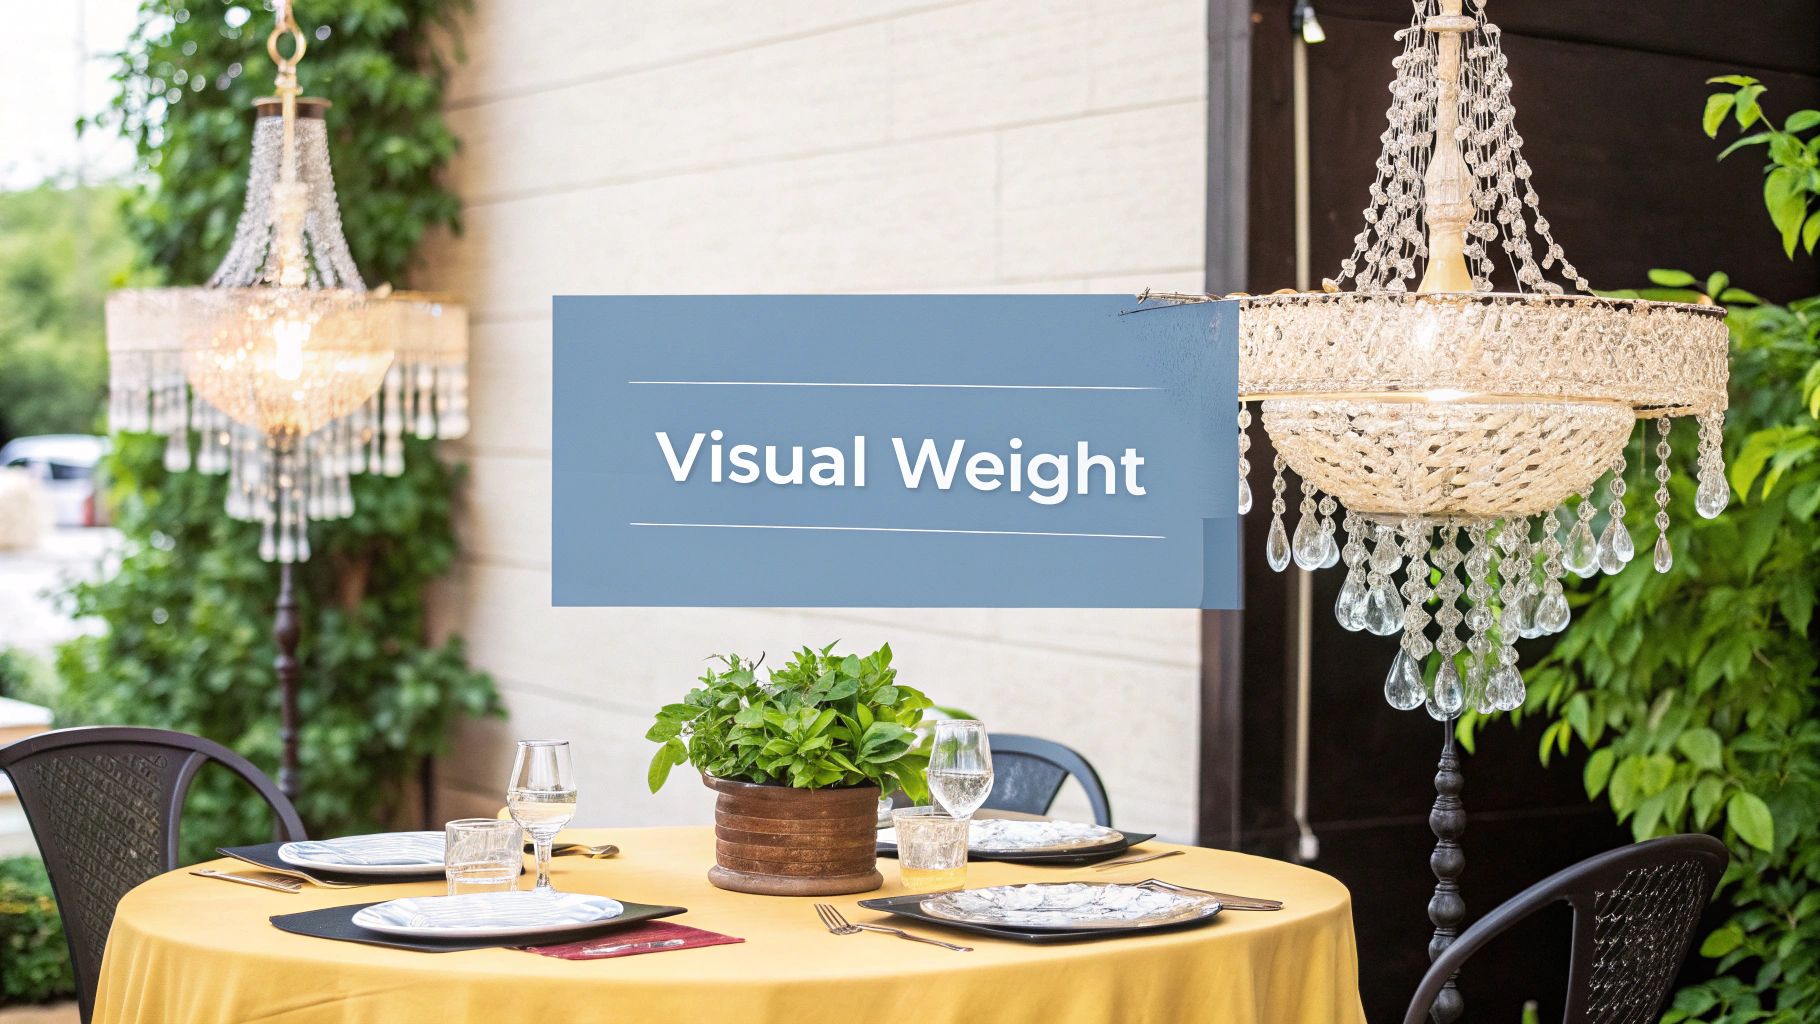
This idea of visual weight is exactly why there’s a 30-to-36-inch range to begin with. Two fixtures with the same diameter can feel completely different, and this is where you get to fine-tune the placement.
Trusting Your Eye with Lighter Fixtures
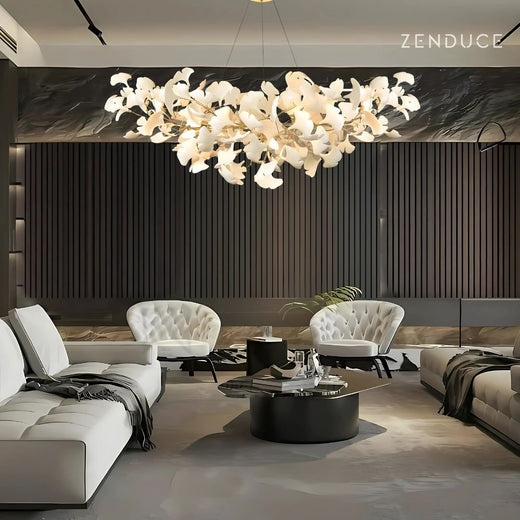
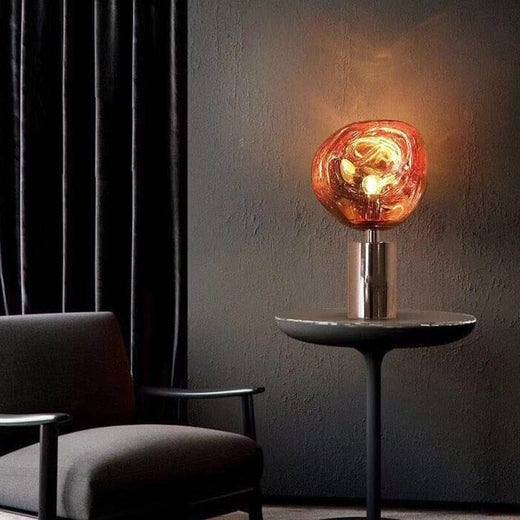
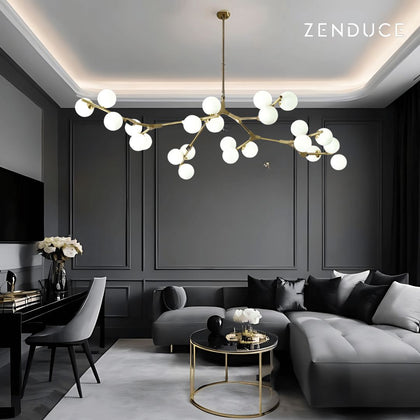
Think about a modern, airy fixture—maybe one with thin metal arms, a minimalist frame, or delicate glass shades. These chandeliers have a very low visual weight. Hang them too high, and they can look like they're just floating away, disconnected from the table they're supposed to anchor.
For these lighter styles, don't be afraid to go lower. Bringing an ethereal fixture down toward the 30 or 32-inch mark gives it more presence and grounds it in the space. It feels deliberate and perfectly connected to the dining area.
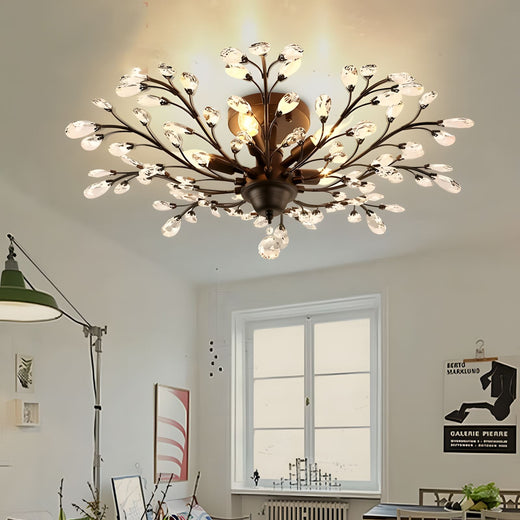
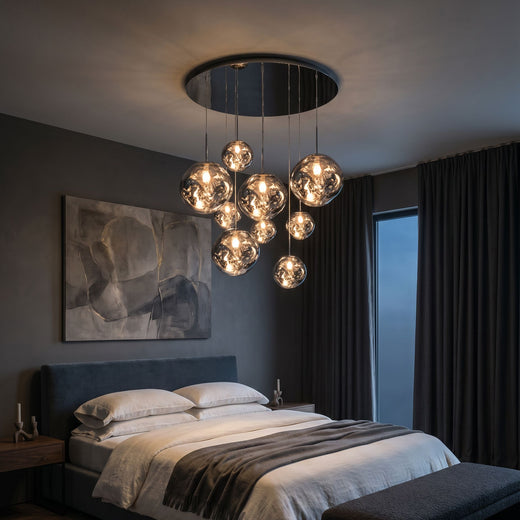
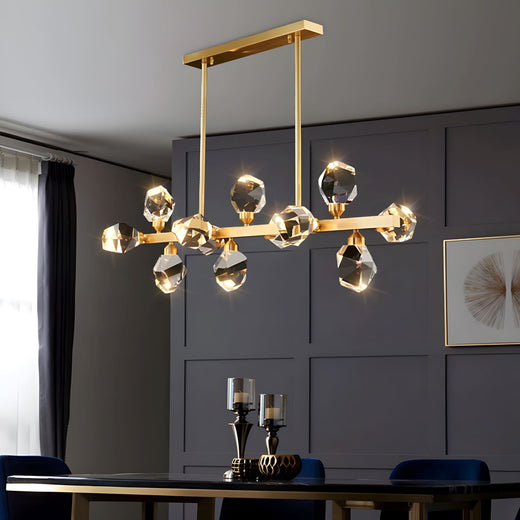
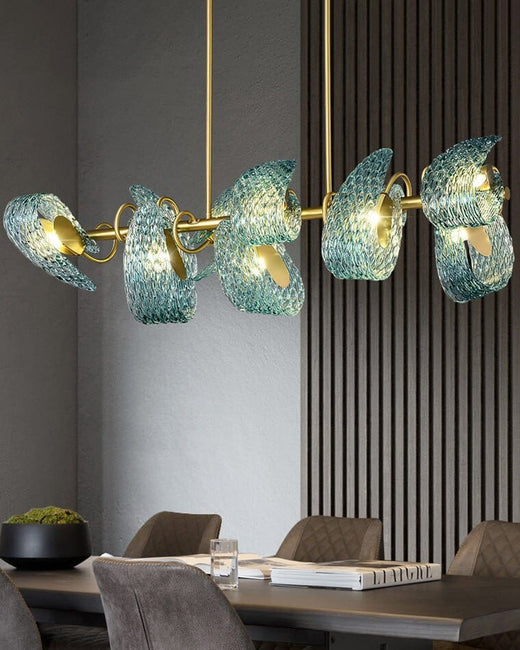
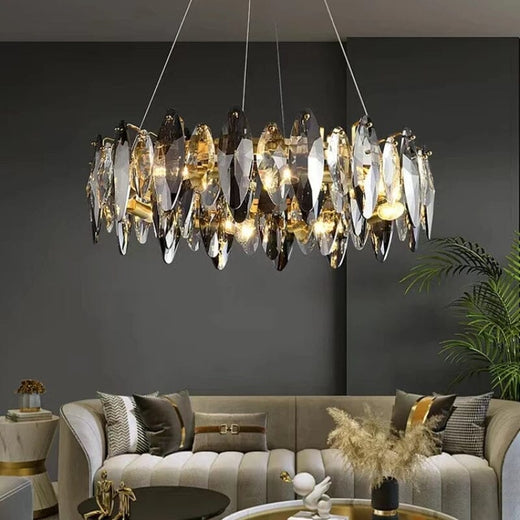
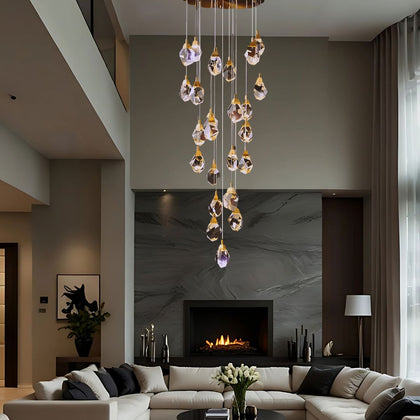
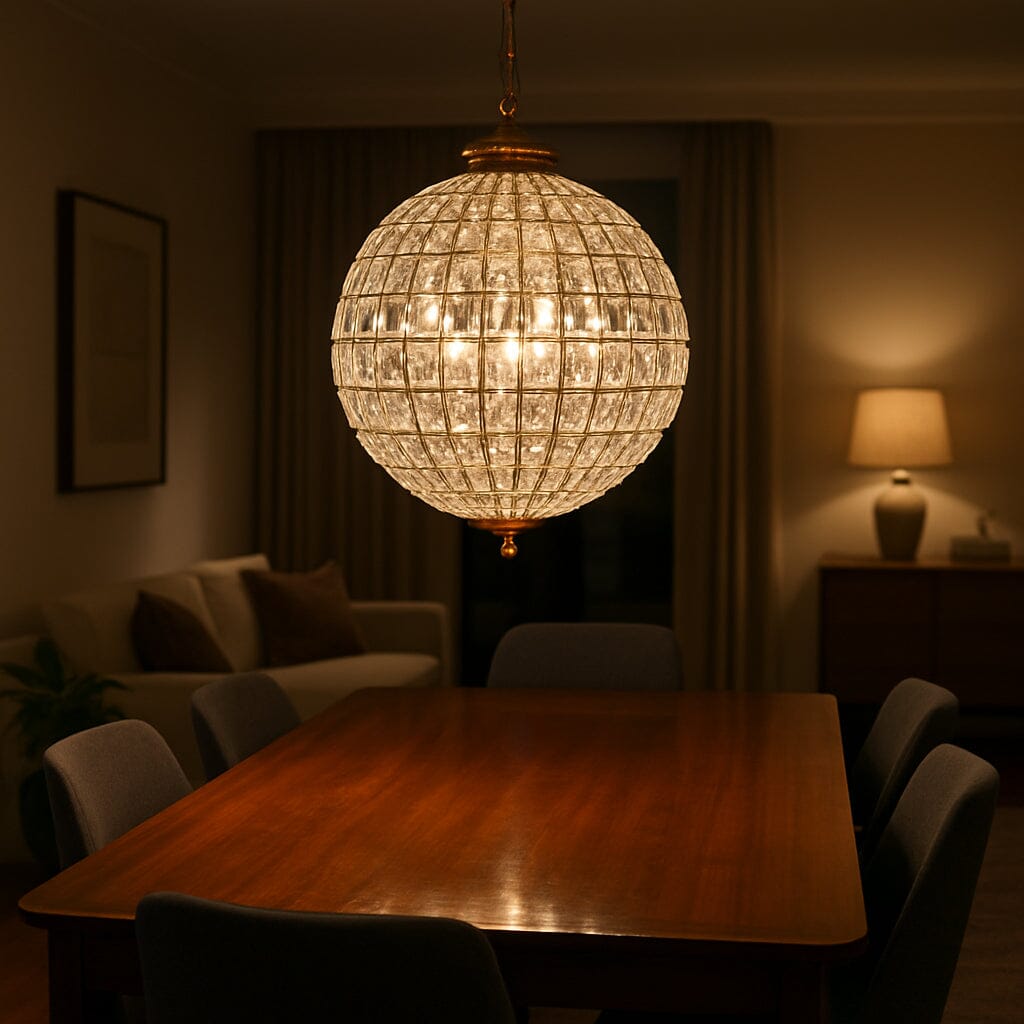
Balancing Heavier, Statement Pieces
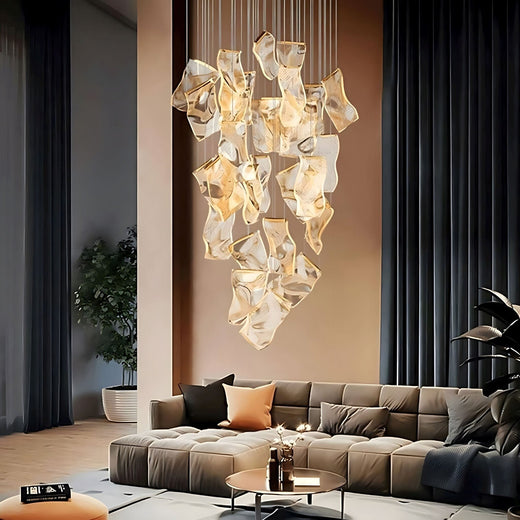
Now, picture the opposite: a dense crystal chandelier or a heavy, multi-tiered drum fixture. These pieces are meant to be commanding focal points, but they carry a ton of visual weight.
Hang them too low, and they can feel overbearing and downright oppressive. Suddenly, the chandelier is an obstacle, dominating conversations and making the whole room feel crowded. To avoid this, give these substantial fixtures more breathing room. Aim for the higher end of the range, closer to the 36-inch mark, to let their grandeur shine without overwhelming everything below.
Designer's Tip: Before you make the final call, step back. Walk around the room. Sit down at the table. Does the fixture feel balanced? Is it interrupting your view of the person across from you? This final visual check is the most critical step of all.
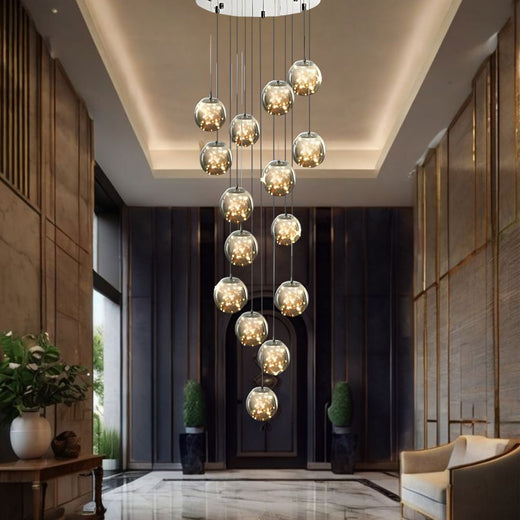
Taking These Lighting Rules to Other Spaces
Once you've mastered hanging a chandelier over a dining table, you'll start to see your whole home differently. It's like learning a new design language. The same core ideas of clearance, scale, and function can be tweaked and applied from one room to the next, creating a lighting plan that feels intentional and connected.
This isn't just about hanging a light; it's about making a statement and defining a space, whether it's in the kitchen or the entryway.
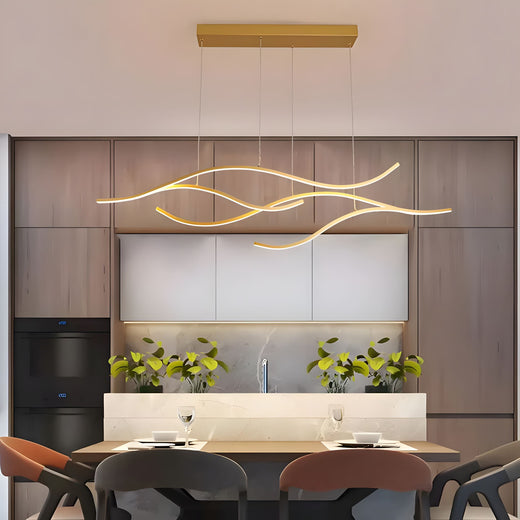
Over the Kitchen Island
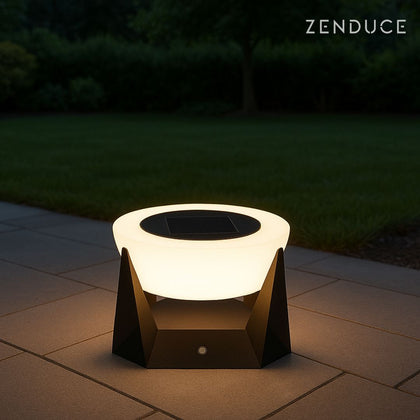
The kitchen island has become the modern-day hearth—a place for everything from meal prep to homework. Just like with a dining table, you need bright, useful light that doesn't get in the way or block sightlines across the room.
Stick with that familiar 30 to 36-inch gap between the countertop and the bottom of your pendants or linear fixture. This sweet spot gives you plenty of task lighting without making you feel like you're talking to someone through a cage. If you really want to nail the lighting in this crucial space, our ultimate guide to choosing kitchen lighting has you covered.
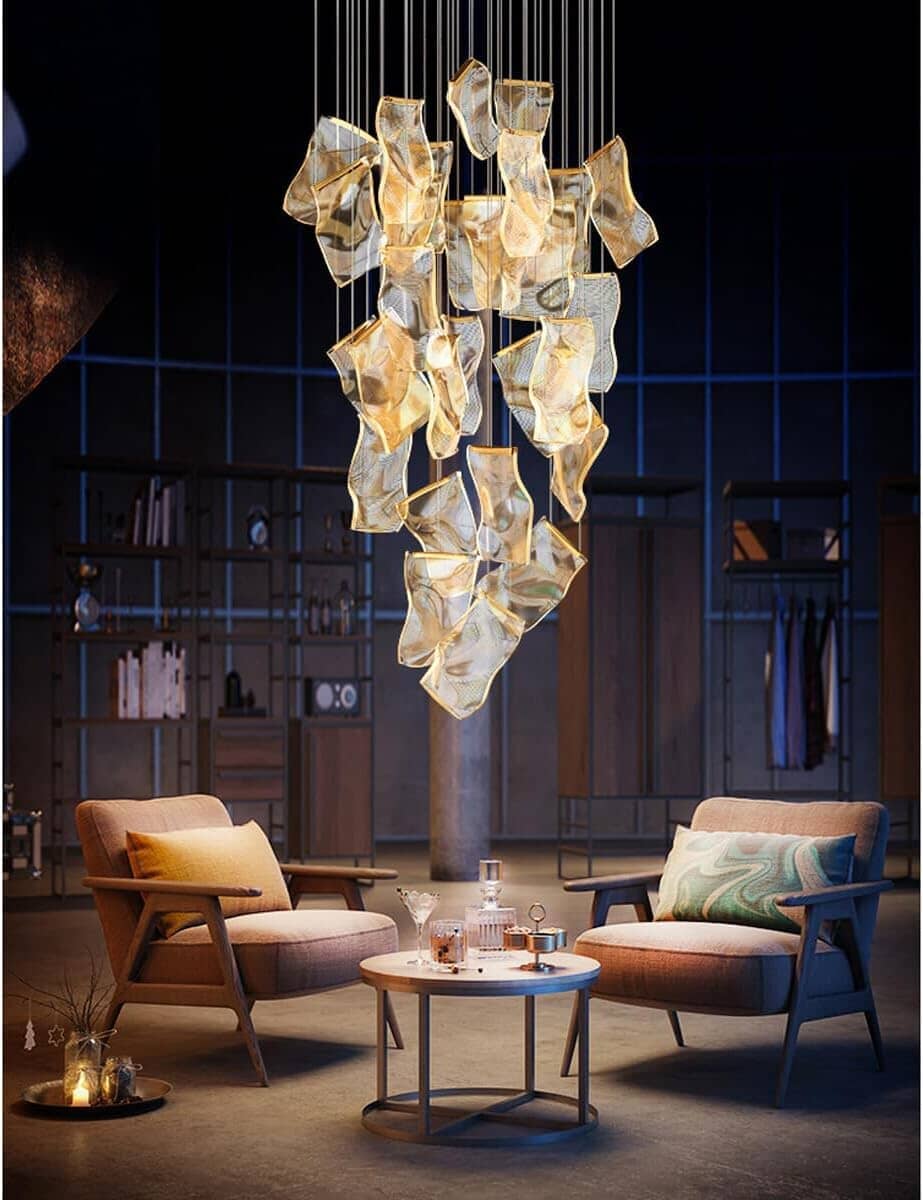
In the Living Room
When it comes to the living room, especially over a coffee table, the "rules" get a lot more creative. Here, the fixture is more about creating a mood and anchoring your seating area than providing direct task light.
The goal is to hang it low enough to feel like part of the furniture grouping, but not so low that it blocks the TV or your view of the person on the other sofa. If the fixture hangs over a path where people walk, you absolutely need at least 7 feet of clearance from the floor. No one wants to duck. Getting this right is a huge part of optimizing your living room layout.
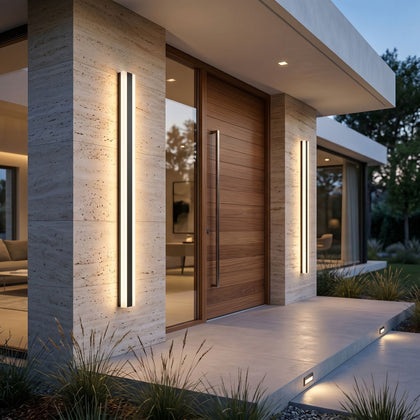
Designer’s Insight: For a grand entryway or foyer, it's all about safety and making a great first impression. The bottom of the chandelier must be a minimum of 7 feet from the floor. This ensures even your tallest guests can walk underneath comfortably. And here's a pro tip for two-story foyers: center the fixture within the view of a large window. The effect from the street at night is absolutely stunning.
Answering Your Trickiest Chandelier Questions
Even with the right measurements, real-world homes have their quirks. Don't worry, we’ve seen it all. Let's tackle some of the most common installation puzzles that pop up.
What if My Junction Box Isn’t Centered Over the Table?
This happens all the time, especially in older homes or open-plan rooms where furniture placement is flexible. You have a couple of options, but our favorite is the simplest and most elegant: swag the chandelier.
Instead of a costly and messy electrical job, just install a sturdy decorative hook right over the center of your table. Then, you can gracefully drape the chandelier's chain from the off-center electrical box to the new hook. It’s a classic designer trick that turns a logistical headache into an intentional, custom-looking feature.
How Do I Hang a Chandelier on a Sloped or Vaulted Ceiling?
Hanging a fixture on an angle requires one key piece of hardware. When you're shopping, make sure the chandelier either comes with an angled-ceiling compatible canopy or has a built-in swivel joint.
This specialized mount is designed to pivot, allowing the fixture to hang perfectly straight down, regardless of your ceiling's pitch. Most well-made chandeliers today account for this, but it’s always smart to double-check the product specs before you buy.
Is a Dimmer Switch Really That Important?
In a word: absolutely. We consider a dimmer switch the single most essential upgrade for your dining room lighting. It’s what transforms a simple light fixture into a powerful tool for setting the mood.
Think about it. You can have bright, clear light for when the kids are doing homework or you're cleaning up. Then, with a simple slide or turn, you can create a soft, warm glow for a romantic dinner or a relaxed get-together with friends. A dimmer gives you total control over the atmosphere, making every occasion feel just right.
Ready to find that perfect fixture to anchor your space? At Zenduce, we’ve curated a collection of designer chandeliers built to elevate any room, with styles and customization options to guarantee a perfect fit for your home.
Explore our collection and let us help you bring your vision to life.
Leave a comment
This site is protected by hCaptcha and the hCaptcha Privacy Policy and Terms of Service apply.